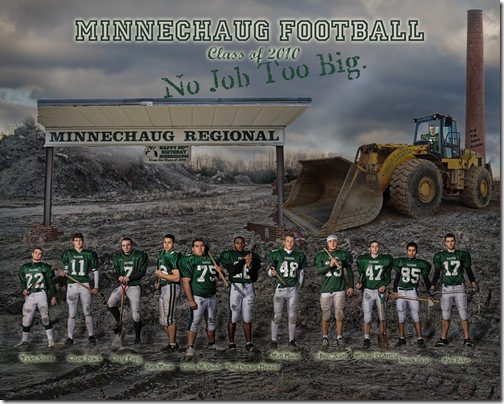
I’ve already gotten a lot of questions on this shot of the Falcon Seniors was done so I thought I would share some of the components and a little bit of the Photoshop technique. It’s part art and part magic, so you’ll have to fill in the missing pieces with your own twist if you ever decide to take on a project like this! I often times get asked how I think of these ideas. In this case, I did have an idea but it wasn’t this one! It just kind of developed on its own when the pieces presented themselves to me. Eventually, I thought it would be a great idea to use the soon-to-be construction of a new Minnechaug High School as part of the fun. The vote of on the school divided our community and now that it is over, its nice to have some fun with the idea of a new school eventually being built in Wilbraham.
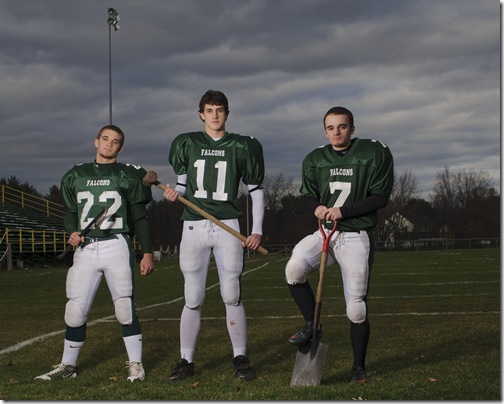
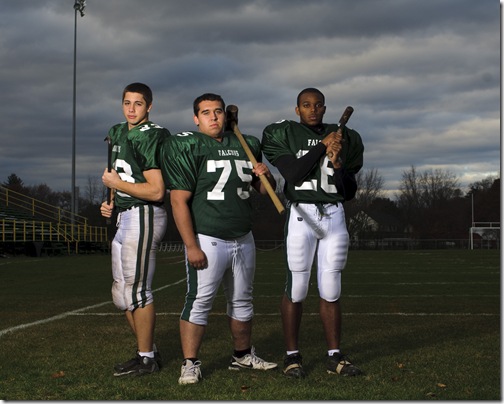
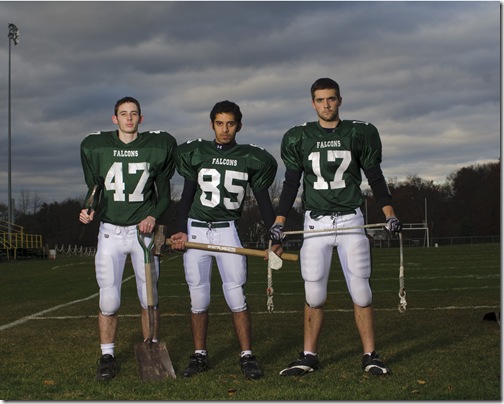
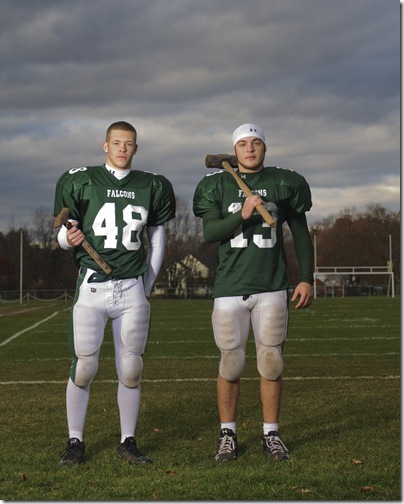
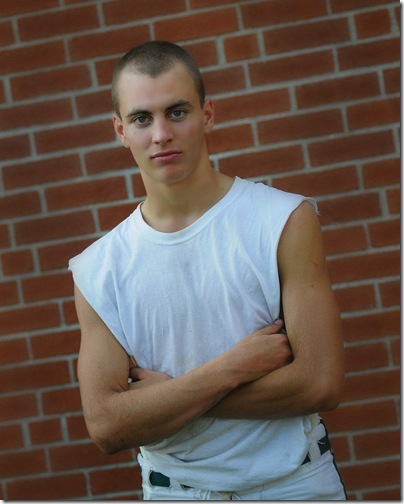
Step 1 begins with the shots of the players taken with bare bulb Alienbee AB800 strobe & standard silver reflector out on the Falcon football field. Lens was the Nikkor 35-70mm f2.8 and my workhorse the D300. With well lit, moody shots like these you can do just about anything.
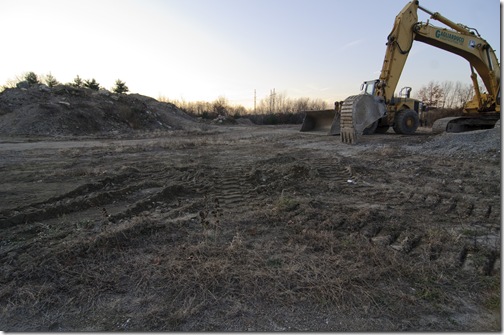
Then you need a shot of the background. These were taken in a vacant lot on Boston Road that is advertised as For Sale. The construction equipment just happened to be there, making my life more convenient!
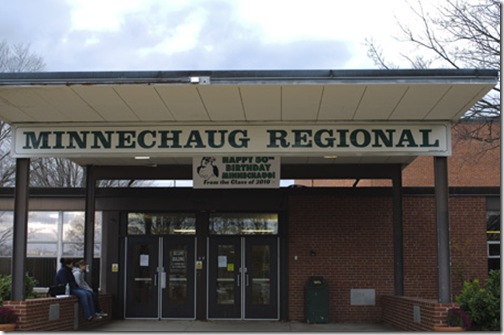
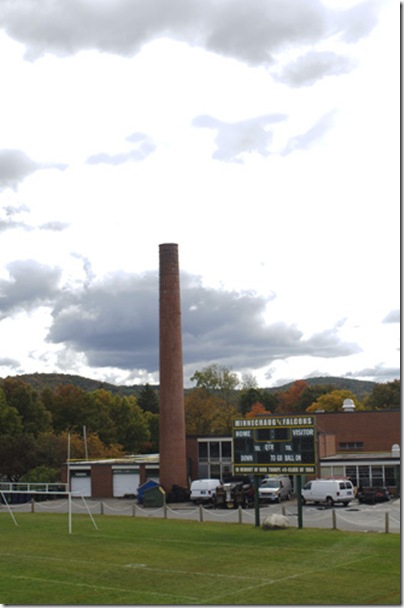
Of course you also need the school. It would have been better if I had captured the whole awning in the shot, but that’s ok, there’s a work around for that problem. Next time, I really should plan better…
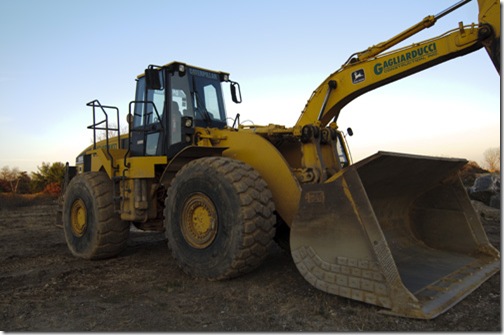
Add in the bucket loader…
The missing player with the broken leg (which I luckily already had taken at the beginning of the season.)
The school’s smokestack, which the coach happens to love for some reason. Notice how the smokestack is properly exposed while the sky is blown out. We don’t care about the sky because we won’t be using it.
And you have all the major pieces of the project.
Now all you need to do is combine them all in a many-layered Photoshop file, masking in all the portions you would like visible, while masking out all the portions of each layer you wish hidden. For a quick tutorial of my masking technique, see my post called “The Making of Anything for the Shot.” There’s a million different ways to do things in Photoshop and everyone has a different technique. Look at the Russell Brown website if you would like a very detailed tutorial on how to mask in Photoshop.
For some really cool fonts, I recommend www.dafont.com. The ones I used here are Varsity, Marcelle, Old Rubber Stamp and James Hann.
When you have all your layered pieces in your file, it’s a good idea to play with the opacity of the layers, as that can make the difference between a layer that looks pasted in and one that blends in seamlessly with the others. It also can hide sloppy masking techniques. (don’t tell anyone!)
Anyway, leave me a comment if you have one and I’ll be happy to answer any questions.
I have more football photos on my website www.mariaagustin.com.
